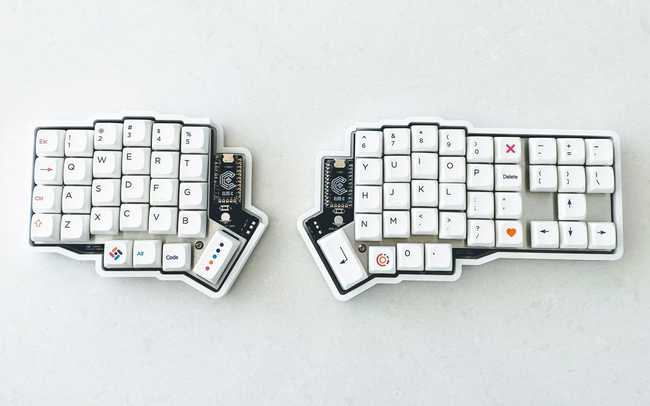


This guide is part of the Breeze Rev1 Build Guide. This section describes how to install the Breeze into the enclosure when using a switch plate. A switch plate can be used to further secure the switches into the Breeze keyboard enclosure, adding stability to the keys.
1. Prepare
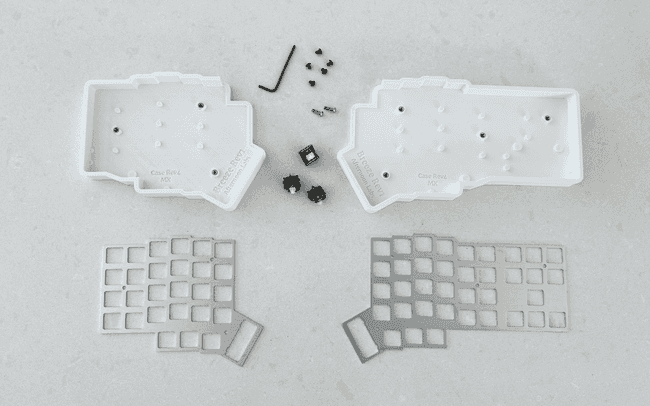
To assemble the PCB and plate into the enclosure you’ll need:
- Assembled Breeze PCB
- A Breeze Keyboard enclosure
- MX switches
- (5) M3x4mm screws
- (2) M3x10mm screws
- Allen wrench
2. Put the enclosure aside
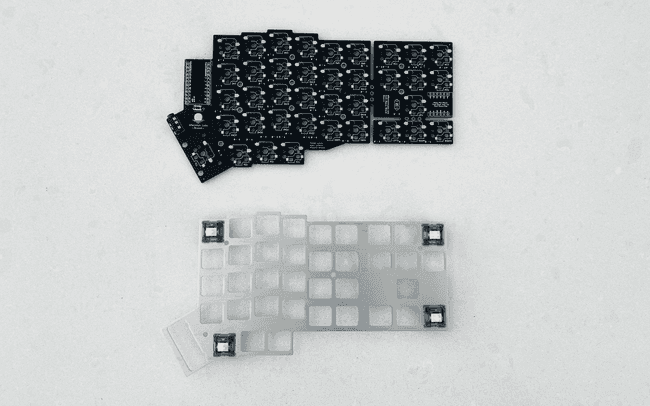
We’ll use the sandwich method to first install the plate and the PCB, using the switches as the glue to hold them together. Then we’ll install that sandwich into the enclosure.
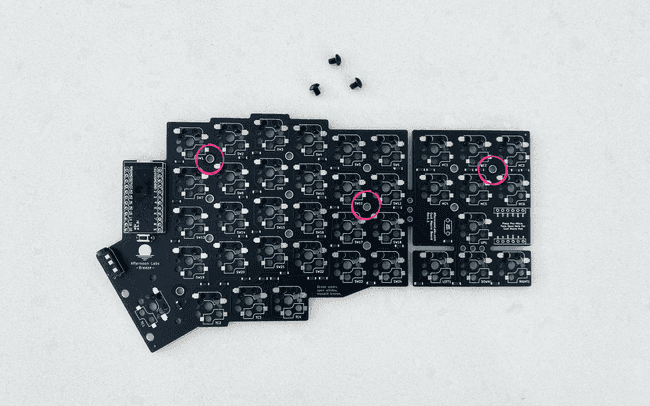
3. Position the short screws
Since we’ll be assembling everything outside of the enclosure, we need to ensure that we’ll have access to fasten the screws through the plate after we sandwich the plate and PCB together. So we’ll first insert the short screws into the PCB where they will wait to later be fastened. Throughout the process ahead, make sure to keep everything upright, we don’t want these screws to escape.
Place M3x4mm screws in the corresponding holes. The hole with for the thumb cluster will require a long screw down the line, leave it empty for now.
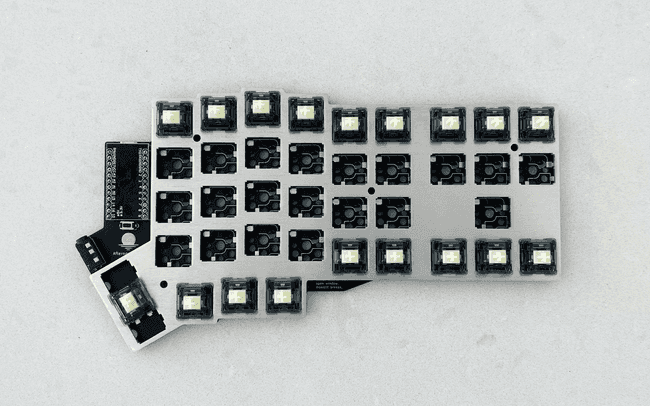
4. Click initial switches into plate
Insert switches into the plate so that they are positioned in opposite corners of the plate. This will help orient the positioning of the plate, and will stabilize it in place for fastening.
5. Fill top and bottom rows
Now continue to click in the switches along the top and bottom rows. Verify that each switch clicks fully into the plate, securing the PCB and plate together.
Be mindful throughout the process and avoid shifting the hanging short screws out of their hole.
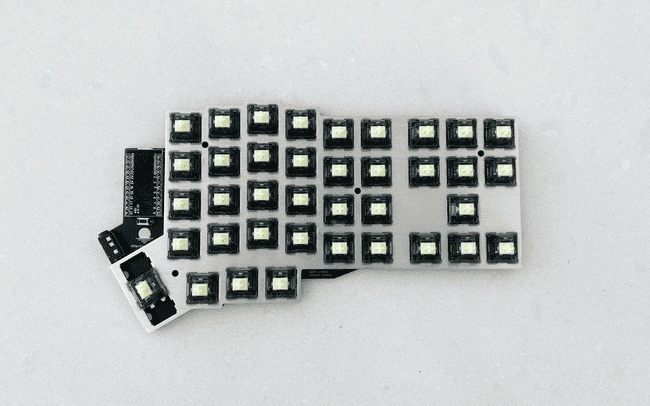
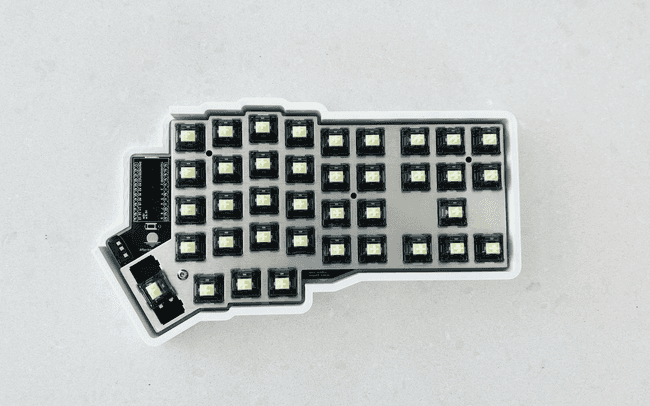
6. Install the rest of the switches
Here too, make sure that each switch fully clicks into place within the plate, and inside the sockets on the PCB.
7. Place the sandwich into the enclosure
Now carefully place the assembly into the enclosure. Remember the short screws we installed earlier, fit them gently into their sockets and make sure they are not pushed out as you place the sandwich in.
8. Fasten the short screws
Use a hex allen wrench. Insert it through the holes in the plate and use it to fasten the M3x4mm screws into the PCB.
9. Install the final long screw
Use a M3x10mm screw to fasten into the socket next to the thumb cluster.
10. Repeat for the other side